
Configuring and setting up the VSB and VIP is known as platform development.
After this section you will be able to:
This is a detailed walk-through on how to make a connection in Workbench and the different features provided.
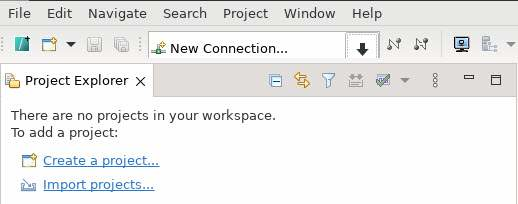
When you open Workbench, you will see the "New Connection..." box in the top left corner. This is where you will find any connections you have made in workbench. You can also modify or delete them.
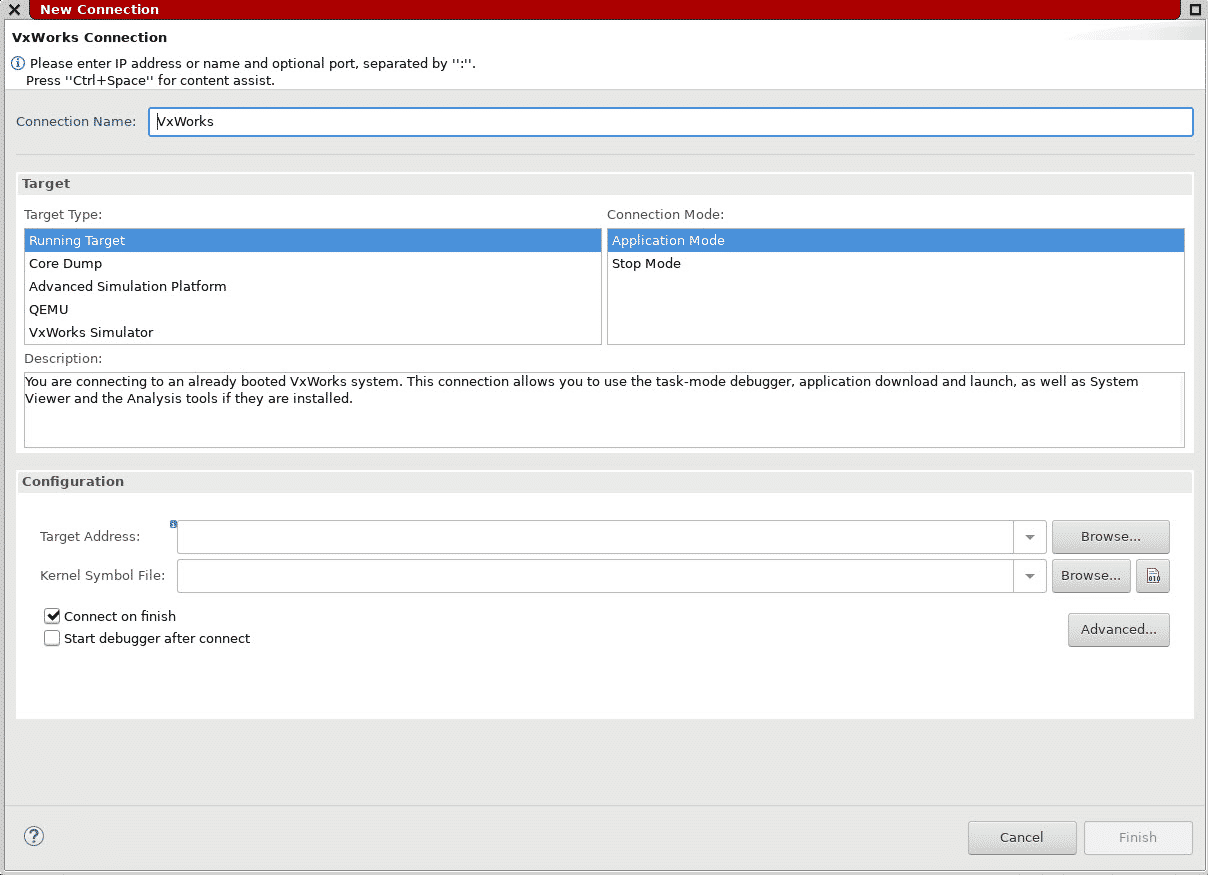
When you click on the box it will open with a few choices.
Note: Advanced Simulation Platform was removed as of VxWorks 23.09

The configuration depends on the target type you are working with. For example, the VxWorks simulator only requires the kernel image. You can find this where you have saved your VxWorks project.
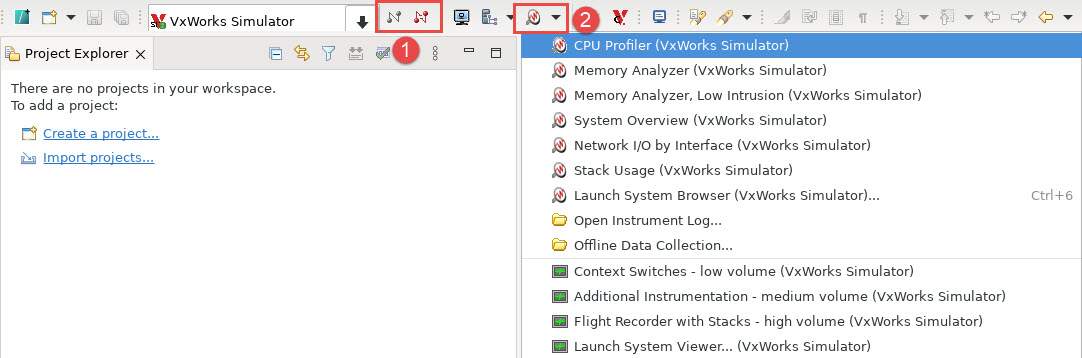
After the connection is made, you will notice a few things change.
Now that you have seen all the options for connecting to a target, you can choose what works best for your project's needs. The connection type can change during development so be aware of which one is the most useful at any given time.
Configuring and setting up the VSB and VIP is known as platform development.

VxWorks is a robust operating system; it has many useful and powerful features for you to use in your project.

All VxWorks projects are different, but they all require hardware configuration.
Step-by-step instructions for running the VxWorks 6.9.3.1 BSP on the Zynq-7000 SoC.